So, you want to set a website live on Salesforce B2C Commerce Cloud. It is all relatively new to you, but your task is to set up the Staging and Production instance to prepare your “GO-LIVE.”
Not to worry! The ECDN is not rocket science, far from it. Once you have set up your first vanity domain, the second one will be peanuts.
Update August 5, 2022: Added some warnings to this post with things to keep in mind. Thank you, Sachin Upmany, for the reminder that this information is also essential in these guides!
What is the eCDN?
But first things first. It is as essential to know what the eCDN is to configure it! What does Salesforce have to say about this feature:
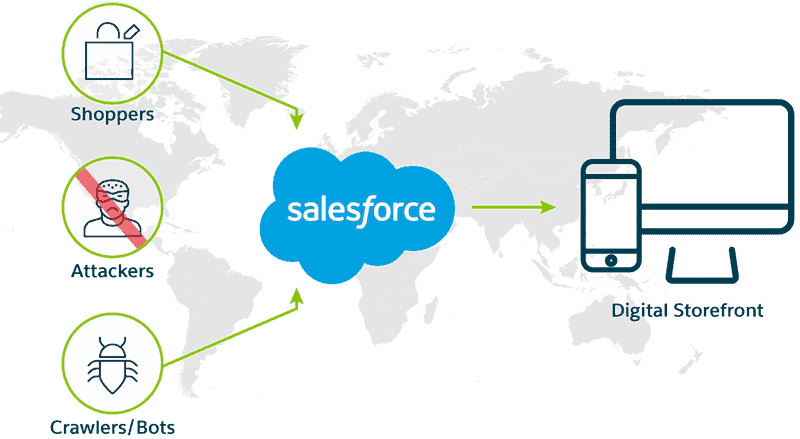
Salesforce Commerce Cloud provides digital customers an embedded content delivery network (eCDN) designed to accelerate site speed access and content delivery. The end result is a more secure, reliable online shopping experience for the consumer.
Ok, ok. The sentence above might not explain what the eCDN is and does.
To put it in simple terms: it’s Cloudflare! If you have been active in web development for a while, you probably are already familiar with the service.
For the most part, Salesforce has put itself in between and taken complete control of the Cloudflare configuration.
But luckily, they have left us with a few buttons and switches to fiddle with in the Business Manager.
Within this interface, you can configure:
- Your supported vanity domains
- Managing SSL certificates
- Firewall & WAF (Web Application Firewall)
- Performance Optimization
- Custom Error/Under Attack Pages
Getting Prepared
Before configuring the Production Business Manager, a few things need to be in order and prepared.
Domain
This one should be pretty obvious, but I’ll mention it anyway. Make sure the domains you will be using have been purchased. If you don’t own the domains, you won’t be able to point them to Salesforce B2C Commerce Cloud.
DNS Configuration Access
Usually, a DNS provider has solutions for this, but this needs to be considered. In a worst-case scenario, you need to set up a "mini-server" to do the redirection of the naked domain to the www subdomain. You can find some information on Salesforce Help on this topic.
With a naked domain we mean https://mybrand.com (without the www).
Get your SSL certificates
We have come to a time where no website should operate without a secure connection. To achieve that, an SSL certificate is required.
To do the configuration later, you need the following:
- The certificate
- The private key
Note: If you are unfamiliar with how certificates can be obtained, a lot of helpful information is floating around on the net.
Alias Configuration
A prerequisite for a domain to be available in the eCDN is that it is configured in one of the sites in the alias configuration.
An example config you can use to get you up and running quickly:
					{
  "__version": "1",
  "settings": {
    "http-host": "www.my-domain.com",
    "https-host": "www.my-domain.com"
  }
}
Once an Alias is configured on at least one site in your production environment, we can continue to the next step!
Add the domain to the eCDN
To get to the eCDN configuration, go to
“Administration” > “Sites” >”Embedded CDN Settings“
Once the page has loaded (be patient), you will see the following at the top right of the page.
You should see the message “x hostname(s) available” if everything goes well. If not, go back to the Alias configuration to verify everything was saved correctly.
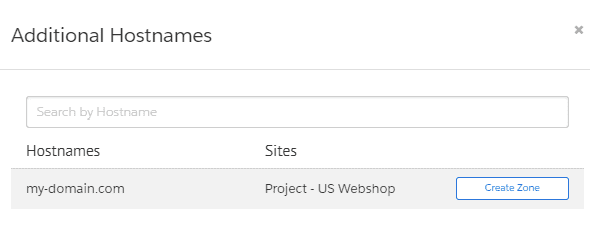
Click “Add Hostname.” A screen should show your configured Alias domain and to which site it is assigned.
Click “Create Zone.” Be patient; it can take a while before something happens.
Verify ownership of the domain
Once the page responds in the previous step, you should see something like this.
If you see the above, you are well on your way! But there is a clear message: “Verification needed.”
Before continuing, we need to verify that we own the domain. Click the text “Verification needed,” and you will see more information on the next steps.
This builds on the pre-work steps where you need access to the domain’s DNS. Before we can continue with the following steps, a TXT record with the provided value needs to be added to the DNS settings of your domain.
DO NOT DO THIS ON THE DAY OF THE GO-LIVE.
As the warning says, it can take up to 6 hours for these changes to take effect. And on the go-live day, you don’t want to spend your time “stressing out” on something you have no control over.
From personal experience, this usually takes a couple of minutes rather than hours. But the warning is there for a reason!
Domain Configuration
Now that we are a “verified owner” of the domain within the eCDN, we can start configuring that domain.
To start, click the “settings” to the right of the top-level domain.
Set up an SSL Certificate
The first screen you will land on is the “crypto” settings. This is where you manage everything about SSL and TLS settings.
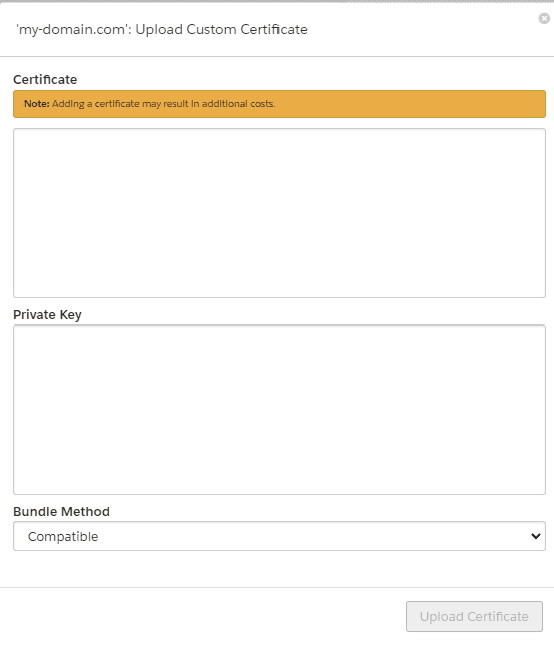
To add a certificate, click the “Add Certificate” button!
The screen itself is pretty self-explanatory. If you followed the “get prepared” section at the beginning of this article, these should already be in your possession.
Once entered, the system will validate if it is correct. If it passes the validation, click “Upload Certificate,” and bam… you are done!
TLS 1.3
You might have noticed that a BETA feature was marked in the screenshots above. Do you want to know more about this feature? Then visit Cloudflare Docs.
Even though the notification popup warns you that this is a BETA feature, it has already gotten that mark for two years.
I have enabled this feature on most projects with no adverse effects.
HSTS
Once a certificate has been uploaded, a new setting should appear called HSTS.
Enabling this option will tell browsers that your domain only operates over HTTPS and that all HTTP connections should be blocked.
Since this includes all subdomains, ensure that no system besides Commerce Cloud operates on HTTP. Otherwise, people will be “barred” from using that site for the remainder of the TTL.
Firewall Settings
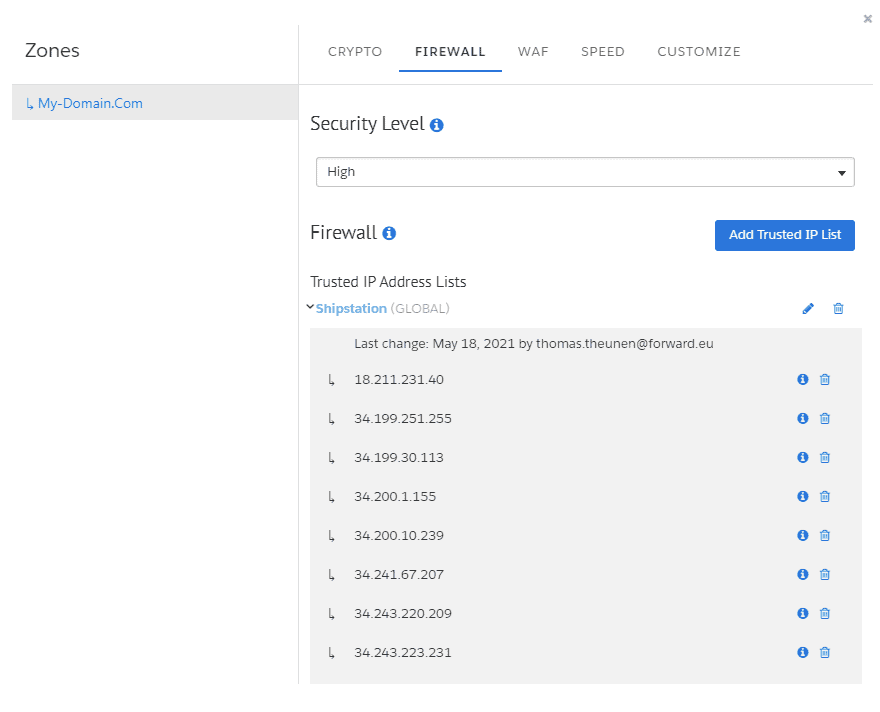
You can manage the Security Level and Trusted IP Addresses in the firewall settings.
As the help popup informs, this part of the firewall looks at IP Address reputation to act appropriately.
Using the IP Allowlisting feature, you can inform the firewall to ignore specific IPs.
WAF Settings
The WAF (Web Application Firewall) is a Cloudflare feature that is well documented.
This will look at more areas to detect malicious traffic using the OWASP rules.
There is a lot to say about this feature, but lucky for me Salesforce has written extensive documentation on this topic!
Download Log Files
In this section, you can also download log files per hour. It is essential to keep in mind that this is an asynchronous operation, and after clicking “Request Log,” you will receive an email containing a download link at a later time (usually not so long)
These files contain a log of all network traffic, how the WAF analyzed it, and how it responded.
Speed Settings
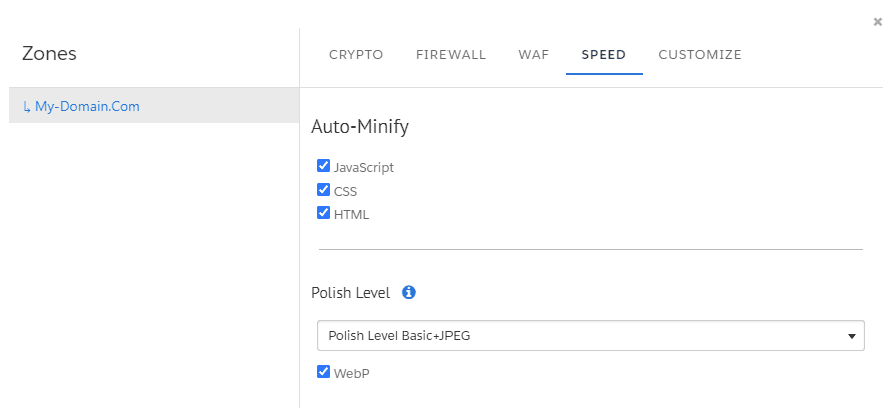
If you have comments on an environment that have value for an external system, be sure not to activate this type of minification.
Note: This also breaks the deprecated toolkit on Development as it relies on comments.
Not much to say about this section; here, you can control a few settings that improve speed, such as minification of Javascript, CSS, and HTML.
The Polish Level settings are something to look into, though, as these can improve the performance of your images.
One thing to watch out for is if you choose to enable “Polish Level Basic+JPEG,” your images might lose quality as this will use lossy compression. If you work for a brand that wants crisp and clear photos, you may want to do extensive testing before permanently enabling this.
Enabling WebP is a no-brainer, allowing a lossless compression that performs better on the web. It is also supported by all major browsers now (except Safari…).
Since these features are Cloudflare behind the scenes, you can also look at their documentation.
Customize Settings
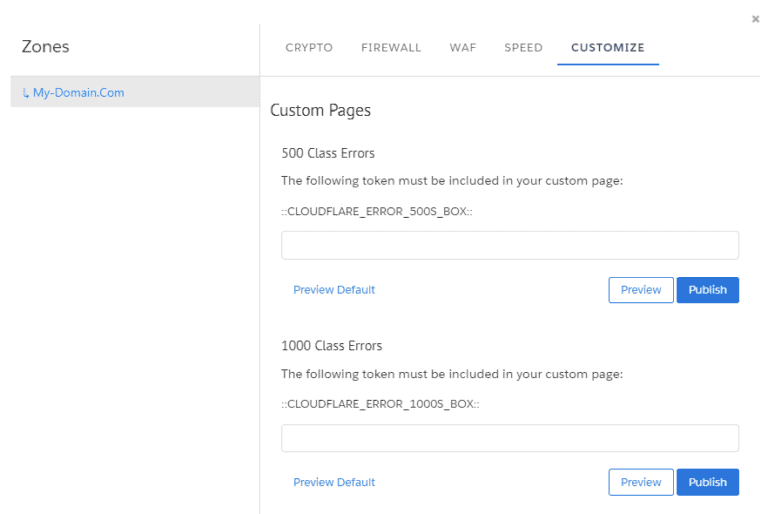
A section you hope you will never need. When “**** hits the fan,” Cloudflare provides standard error pages. In this section, you can choose to load your own rather than the default.
Commerce API Configuration
The not-so-well-known thing is that some Cloudflare features you can enable are missing in the Business Manager.
There is a REST service available however:
Using these APIs, you can enable:
Make sure you do not forget about these! As they can also increase performance on certain pages. HTTP2 Prioritization will help a lot on lister pages with many images processed by the DIS (Dynamic Image Service).

