A while ago, I wrote two articles on how to get PDF magic to work within SFCC:
As this is a common topic that many projects may encounter, I have chosen to write a third article to conclude the series.
Companies need to have a consistent and recognisable identity that is reflected in all their communication channels, even in attachments such as PDFs. A personalised font that complements the brand’s aesthetic can help achieve this goal.
But how do you add them to a PDF? Let us find out!
Only TTF?
To my knowledge, jsPDF solely supports TTF fonts. This information can be found in the “Read Me” section of the documentation:
The 14 standard fonts in PDF are limited to the ASCII-codepage. If you want to use UTF-8 you have to integrate a custom font, which provides the needed glyphs. jsPDF supports .ttf-files. So if you want to have for example Chinese text in your pdf, your font has to have the necessary Chinese glyphs. So, check if your font supports the wanted glyphs or else it will show garbled characters instead of the right text.
Fonts as base64
To use a custom font, they need to be part of our code-base as a base64 encoded string. Luckily, jsPDF has provided a tool to convert your TTF files to a jsPDF-compatible string.
I could explain how to use this tool elaborately, but luckily someone has already done this for me!
Ready to go!
Add the file to your codebase
The tool described above will spew out a JavaScript file that you can add to your code-base with some small modifications.
An example of such files have been added to my GitHub:
Add your font JS file to the cartridge and folder that makes the most sense to you!
					module.exports = function (jsPDFAPI) {
    var font = 'BASE64 HERE';

    var callAddFont = function () {
        this.addFileToVFS('broc-webfont-normal.ttf', font);
        this.addFont('broc-webfont-normal.ttf', 'broc-webfont', 'normal');
    };

    jsPDFAPI.events.push(['addFonts', callAddFont]);
};
Load in the font
Next we need to expand main.js to load in the fonts.
					var jsPDF = require('./jsPDF');

// libs
require('./libs/ttffont')(jsPDF.API);

// plugins
require('./plugins/addImage')(jsPDF.API);
require('./plugins/total_pages')(jsPDF.API);
...

// Custom Fonts
require('./fonts/angin-senja-normal')(jsPDF.API);
require('./fonts/broc-webfont-normal')(jsPDF.API);

module.exports = jsPDF;
As with any other script file, it’s entirely within your control to override it on your cartridge. It’s a given that you won’t be needing those two sample fonts anyway!
Use your font!
After loading your font, it’s time to put it to use! Simply add the following code in your controller or job.
					var JSPDF = require('jsPDF');

var doc = new JSPDF();

doc.setFontSize(25);
doc.setFont('broc-webfont', 'normal');
doc.text(35, 10, 'Forward loves jsPDF');

response.writer.print(doc.output());
The first parameter of the setFont function is the font name defined in the initial JavaScript file we generated using the font conversion tool.
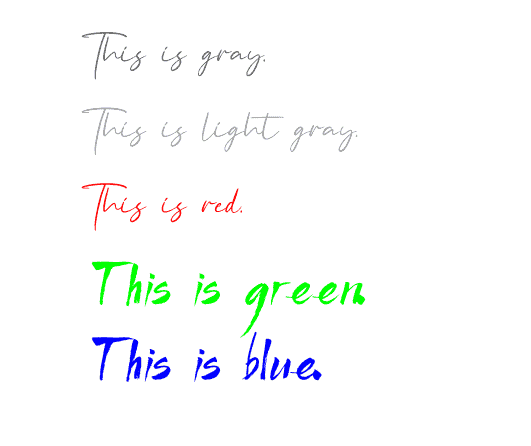
If they do not match, it will not work! But if set up correctly, you should get a result like this (an example from the GitHub repository code):

Something to keep in mind
To optimise file size, it’s important to limit the use of excessively large fonts and avoid loading unnecessary ones.
Even though you can incorporate all the different bold or italic font styles, it’s not required if you only use a few. This will prevent the PDF from being unnecessarily bloated.
This is especially important if you plan to send your files out by e-mail, as there are limitations to how big your files can be (depending on the providers on both the sending and receiving end ).


